
Pocari Sweat Unveils Faith Adewale as Brand Ambassador
Pocari Sweat, the globally recognized ion supply drink brand, has unveiled Nigerian medical doctor, entrepreneur, wellness advocate, and BBNaija star,...
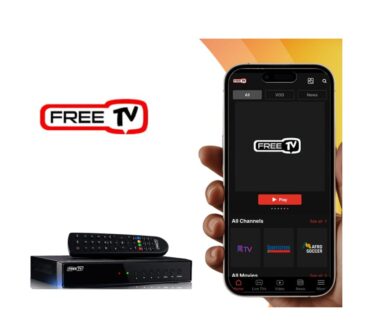
Nigeria Launches Free TV with over 100 Free Station – Check out everything you need to know
The Federal Government on Wednesday launched Free TV, a digital television platform offering more than 100 free channels, as it...

Job Seekers Robbed in Fake Interview Scam at Lagos Hotel
A group of job seekers in Lagos has raised the alarm after allegedly being lured to a fraudulent recruitment exercise...